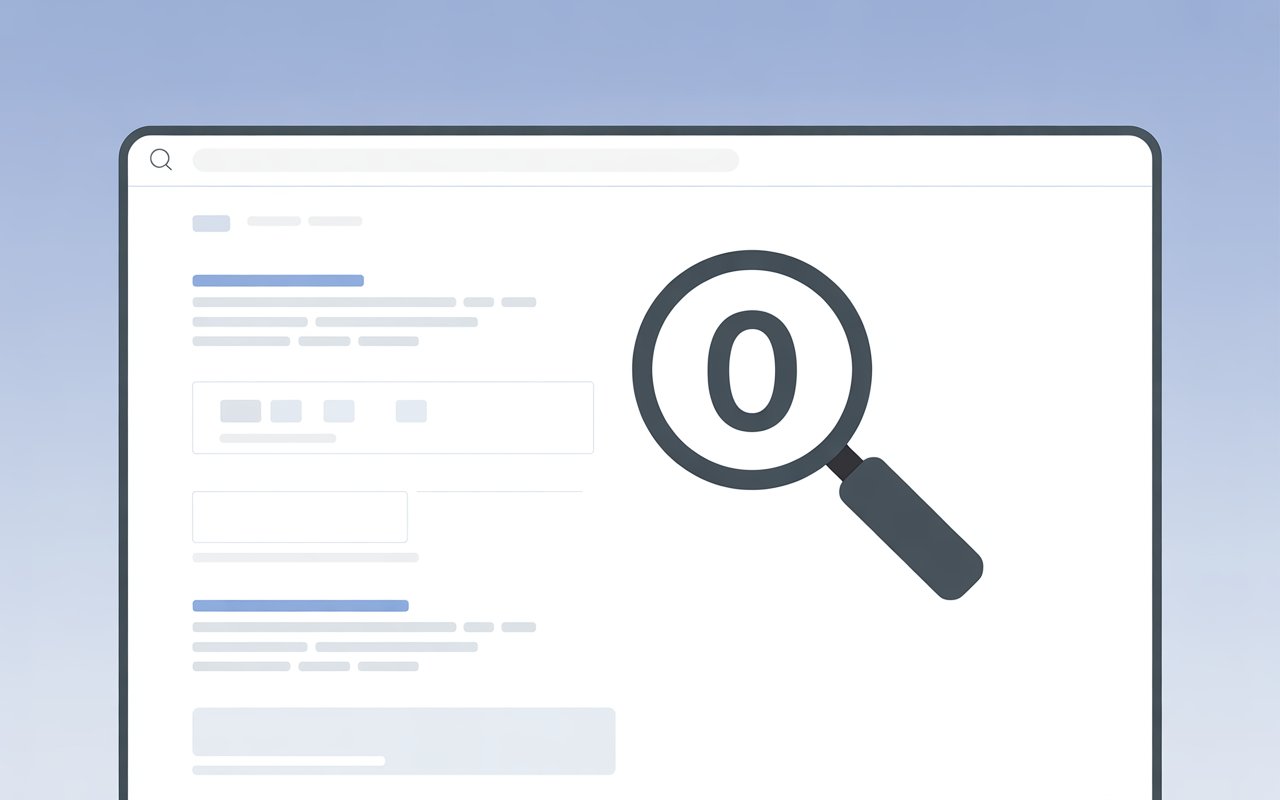
Your website can look perfect and still never appear on Google.
That usually comes down to one thing, which is indexing. If your pages aren’t indexed, they simply don’t exist in search results, no matter how good your content is.
This is where many site owners get stuck. Your site is live, everything seems fine, but when you search for it… nothing shows up.
It’s frustrating, especially when you don’t know what’s causing it.
In many cases, the problem isn’t Google, but it’s your WordPress settings.
A few small options, often turned on by accident, can quietly block search engines from seeing your site.
The good news? Once you know where to look, these issues are easy to fix.
Need help with other technical indexing issues? This Comprehensive Google Indexing Guide might help.
What Does “Blocking Google Indexing” Mean?
Blocking Google indexing means search engines can access your site but choose not to store your pages in their search results, which makes them invisible to users.
It helps to understand the difference between crawling and indexing: crawling is when Google discovers and scans your pages, while indexing is when those pages are saved and made eligible to appear in search results.
A page can be crawled but still not indexed if something tells Google to ignore it or if the content doesn’t meet quality or technical requirements.
Common reasons include “noindex” tags, blocked access in robots.txt, duplicate or thin content, slow-loading pages, or errors that prevent proper rendering.
This is where WordPress plays a key role, because certain settings and plugins can directly control whether search engines are allowed to index your site.
For example, a single checkbox in WordPress can add a noindex instruction across your entire website, while SEO plugins can apply noindex rules to specific pages without you noticing.
Even visibility settings like private or password-protected pages can stop indexing completely.
When these controls are misconfigured, they send clear signals to Google to stay away, which is why understanding and checking them puts you back in control of whether your site appears in search results.
The “Discourage Search Engines” Setting
Where to Find It in WordPress
This setting is easy to miss but has a big impact. In your WordPress dashboard, go to Settings → Reading, then scroll to the bottom.
You’ll see a checkbox labeled “Discourage search engines from indexing this site.” It often gets turned on during development and then forgotten when the site goes live.
If your site isn’t showing on Google, this is one of the first places to check.
What It Actually Does
When this box is checked, WordPress adds a noindex directive to your site. This tells search engines like Google not to include your pages in search results.
Even if Google can crawl your site, it will respect this instruction and avoid indexing it.
In some cases, WordPress may also suggest blocking via robots.txt, which reinforces the same message.
When It’s Useful
This setting is not a mistake by design because it’s useful in the right situation.
If you’re working on a staging site, redesigning your website, or testing content that isn’t ready for the public, blocking indexing prevents unfinished pages from appearing on Google.
It helps avoid duplicate content issues and keeps low-quality or incomplete pages out of search results.
How to Fix It
If your site is live and you want it to appear on Google, this box should be unchecked. Simply go back to Settings → Reading, uncheck the option, and save your changes.
After that, request indexing through Google Search Console to speed things up.
Once the noindex instruction is removed, Google can process your site normally and start adding your pages to search results.
Incorrect Robots.txt Configuration
What robots.txt Does
The robots.txt file is a simple text file that sits at the root of your website (yourdomain.com/robots.txt) and tells search engines which parts of your site they are allowed to crawl.
It doesn’t control indexing directly, but it controls access. If search engines can’t crawl a page, they usually can’t index its content.
Website owners use robots.txt to block unimportant areas like admin pages, login screens, or duplicate content folders so search engines focus on the right pages.
Example of a Blocking Rule
A common mistake is using a rule like this:
User-agent: *
Disallow: /
This line tells all search engines (“User-agent: *”) not to crawl anything on your site (“Disallow: /”).
It’s often added during development to keep a site private, but if left in place after launch, it becomes a major problem.
How This Blocks Your Entire Site
When this rule is active, search engines are blocked from accessing every page on your website.
That means Google can’t read your content, follow your links, or understand what your site is about.
Even if some pages appear in search results temporarily, they won’t update properly and may eventually disappear.
In short, your site becomes invisible because Google is locked out.
How to Fix robots.txt Properly
Start by opening your robots.txt file and removing any rule that blocks the entire site. A safe basic version usually looks like this:
User-agent: *
Disallow:
This allows search engines to crawl everything by default. If you need to block specific areas, be precise.
For example, you can block only your admin section without affecting the rest of your site:
Disallow: /wp-admin/
After updating the file, test it using Google Search Console’s robots.txt tester and request a recrawl.
Once access is restored, search engines can properly crawl your pages and move them toward indexing.
Noindex Tags from SEO Plugins
Common Plugins That Control Indexing
Most WordPress sites rely on SEO plugins like Yoast SEO, Rank Math, and All in One SEO to manage how pages appear in search engines.
These tools give you direct control over indexing by adding instructions (called meta robots tags) to your pages.
This is useful because you can choose exactly which pages should or shouldn’t appear on Google.
But with that control comes risk, and one wrong setting can quietly block important pages.
How Noindex Tags Get Added Accidentally
Noindex tags are often added without the site owner realizing it.
This can happen when importing demo settings, using templates, or adjusting plugin defaults during setup.
Some plugins also apply noindex rules automatically to certain page types like archives, tags, or low-content pages.
In other cases, a single toggle meant for testing or SEO cleanup gets left on.
Because everything still looks normal on the front end, the issue can go unnoticed while your pages stay excluded from search results.
Where to Check
Start with individual pages and posts. Open the page editor, scroll to your SEO plugin section, and look for settings related to indexing or robots meta.
If you see “noindex” selected, that page is blocked from Google. Next, check the global settings inside your SEO plugin dashboard.
Most plugins have sections that control indexing rules for entire content types like posts, pages, categories, and tags.
If noindex is applied here, it affects multiple pages at once.
How to Remove Noindex Tags
To fix the issue, switch any “noindex” setting to “index” on the pages you want Google to include.
Then review your global settings and make sure important content types are allowed to be indexed. Save your changes and clear any caching if needed.
After that, use Google Search Console to request indexing so Google can revisit your pages.
Once the noindex tag is removed, your content becomes eligible to appear in search results again.
Password-Protected or Private Pages
WordPress Visibility Settings Explained
WordPress gives you three visibility options for every page and post: Public, Private, and Password-protected.
Public means anyone, including search engines, can access and view the content.
Private pages are restricted to logged-in users with the right permissions, usually admins or editors.
Password-protected pages require a visitor to enter a password before the content is revealed.
These settings are built for content control, but they directly affect whether Google can access and index your pages.
Why Google Cannot Index These Pages
Search engines cannot log in, enter passwords, or access restricted areas of your site.
If a page is set to Private or Password-protected, Google is blocked from seeing the actual content behind that restriction.
As a result, the page either won’t be indexed at all or will appear without useful information.
Even if Google discovers the URL, it cannot process or rank the content because it’s not accessible.
In simple terms, if a user has to unlock the page, Google can’t get in either.
How to Change Visibility Settings
To fix this, edit the page or post in WordPress and look for the “Visibility” option in the publish settings panel.
If it’s set to Private or Password-protected, switch it to Public and update the page. This immediately removes the access barrier and allows search engines to crawl the content.
After making the change, request indexing in Google Search Console to speed up the process.
Once the page is publicly accessible, Google can read it, understand it, and include it in search results.
Poor Permalink Settings
Importance of Clean URL Structures
Permalinks are the URLs of your pages and posts, and they help both users and search engines understand what a page is about before even opening it.
A clean, readable URL gives clear context, improves click-through rates, and makes it easier for search engines to crawl and organize your content.
Simple structures also reduce confusion, avoid duplicate paths, and create a more consistent site architecture, which supports better indexing over time.
Why Default URLs Can Affect Indexing
WordPress can use a default URL format like ?p=123, which doesn’t describe the content at all.
While Google can still crawl and index these URLs, they provide no meaningful signals about the page topic.
This can make it harder for search engines to understand relevance and for users to trust or click the link.
In larger sites, these unclear URLs can also lead to duplicate content issues or inefficient crawling, which slows down how pages get indexed and updated.
Recommended Structure: Post Name
The most effective and widely recommended structure is the “Post name” format.
This creates URLs based on your page or post title, such as /wordpress-indexing-settings/.
These URLs are easy to read, include keywords naturally, and give both users and search engines immediate context.
This structure also keeps your site organized and consistent, which helps Google process and index your content more efficiently.
How to Update Permalinks Safely
To update your permalinks, go to Settings → Permalinks in your WordPress dashboard and select “Post name.”
Before making changes to an existing site, check if your current URLs are already indexed.
Changing them without proper redirects can break links and remove pages from search results.
If your site is live, set up 301 redirects from old URLs to the new ones so search engines and users are sent to the correct pages.
After updating, resubmit your sitemap and request indexing to help Google process the new structure faster.
Blocking via .htaccess or Server Settings
How Server-Level Rules Can Block Crawlers
Beyond WordPress settings, your server can control who is allowed to access your site.
This is often done through configuration files like .htaccess (on Apache servers) or through hosting-level security settings.
These rules can block requests before WordPress even loads, which means search engines like Google may never reach your content.
If a crawler is blocked at this level, it cannot crawl or index your pages, regardless of how well your site is set up.
Examples of Blocking Issues
Two common types of blocks are IP blocking and user-agent blocking. IP blocking restricts access based on specific IP addresses or ranges.
If Google’s crawler IPs are mistakenly blocked, your site becomes invisible to search engines. User-agent blocking targets specific crawlers by name, such as “Googlebot.”
For example, a rule that denies access to Googlebot will stop Google from crawling your entire site. These blocks are powerful and can override all other SEO settings.
When This Happens
These issues often come from security plugins, firewall settings, or hosting configurations.
Tools designed to protect your site from spam or attacks may accidentally block legitimate crawlers if configured too strictly.
This can also happen during site migrations, when temporary restrictions are added and not removed, or when custom rules are added without fully understanding their impact.
How to Identify and Fix
Start by checking your .htaccess file for any rules that deny access to certain IPs or user agents. Look for lines that include “Deny from” or conditions targeting bots.
Next, review your hosting firewall or security plugin settings for blocked requests or suspicious activity logs.
If you see Googlebot being blocked, remove or adjust those rules immediately.
You can also use tools like Google Search Console to check for crawl errors and confirm whether Google can access your pages.
Once the block is removed, request a recrawl so search engines can access and index your site properly again.
JavaScript or Theme Issues Preventing Indexing
How Poorly Coded Themes Can Hide Content
Your WordPress theme controls how content is displayed, but not all themes are built with SEO in mind.
Some themes rely heavily on scripts or dynamic loading to show content, which can cause important text to be missing from the initial page source.
Search engines read the HTML first, so if your content isn’t present there, it may be ignored or only partially understood.
In other cases, hidden elements, tabs, or sliders may delay or block content from being seen properly, especially if they depend on scripts to load.
JS-Heavy Pages and Rendering Issues
JavaScript can improve user experience, but too much of it can slow down or complicate how search engines process your site.
Google can render JavaScript, but it does so in a second step after crawling, which means delays or errors can prevent content from being indexed.
If scripts fail to load, are blocked, or take too long to execute, Google may never see the full page.
This is common with page builders, interactive layouts, or sites that rely on external scripts to display key content.
Importance of Server-Side Rendering or Proper HTML Content
To avoid these issues, your most important content should always be available in the raw HTML when the page loads.
This ensures search engines can immediately read and index it without relying on JavaScript.
Server-side rendering (SSR) or well-structured static HTML helps deliver content directly, making it easier for Google to process.
If you’re using a theme or builder, test your pages by viewing the page source or using inspection tools to confirm that your main content is visible without needing scripts.
Missing or Incorrect XML Sitemap
Why Sitemaps Help Google Discover Pages
An XML sitemap is a structured file that lists the important pages on your website and helps search engines find them faster.
It acts like a roadmap, especially for new sites, large sites, or pages that aren’t easily discovered through internal links.
While Google can find pages on its own, a sitemap improves efficiency by pointing directly to what matters, including when pages were last updated.
This makes it easier for Google to crawl and decide what to index.
Common Issues That Block Indexing
One of the most common problems is simply not submitting a sitemap to Google Search Console.
If Google doesn’t know your sitemap exists, it may take longer to discover your pages. Another issue is a broken or outdated sitemap.
This can include pages that return errors, URLs that no longer exist, or incorrect formatting that prevents search engines from reading the file properly.
In some cases, the sitemap may include URLs marked as “noindex,” which sends mixed signals and slows down indexing.
How to Generate and Submit a Sitemap
Most WordPress SEO plugins like Yoast SEO or Rank Math automatically generate an XML sitemap for your site.
You can usually find it at a URL like /sitemap_index.xml.
Once you have your sitemap, go to Google Search Console, open the “Sitemaps” section, and submit the URL.
After submission, Google will start using it to crawl your pages more effectively.
To stay on track, check for errors regularly and make sure your sitemap only includes valid, indexable pages.
How to Check If Your Site Is Blocked
Use Google Search Console
The fastest way to understand what’s happening with your site is through Google Search Console.
It shows whether your pages are indexed, excluded, or blocked, along with clear reasons.
In the “Pages” or “Indexing” report, you can see issues like “Excluded by ‘noindex’ tag” or “Blocked by robots.txt.”
This gives you direct feedback from Google, not guesswork, so you can focus on fixing the exact problem.
Use the URL Inspection Tool
Inside Google Search Console, the URL Inspection tool lets you check a specific page in detail.
Paste your page URL, and it will tell you if the page is indexed, when it was last crawled, and whether there are any blocking issues.
It also shows if a noindex tag is present or if crawling is restricted.
If everything looks good, you can request indexing right there, which helps speed up the process after making fixes.
Use the Site Search Operator
A quick manual check is to search in Google using:
site:yourdomain.com
This shows all indexed pages from your site. If nothing appears, your site is likely not indexed at all. If only a few pages show up, it could mean partial indexing or blocked sections.
This method isn’t as detailed as Search Console, but it gives you a fast overview of your site’s visibility.
Check Page Source for Noindex Tags
You can also check directly on your site. Open any page, right-click, and view the page source. Then search (Ctrl + F) for “noindex.” If you see a meta tag like:
<meta name="robots" content="noindex">
It means that the page is blocked from indexing. This is a clear signal telling Google not to include it in search results.
Removing or changing this tag to “index” allows the page to be considered for indexing again.
Step-by-Step Fix Checklist
- Uncheck “Discourage search engines from indexing this site” in Settings → Reading
- Review and fix your robots.txt file to ensure it does not block important pages
- Remove any noindex tags from pages you want indexed (check SEO plugins and page settings)
- Make sure all important pages are set to Public, not Private or Password-protected
- Generate and submit your XML sitemap in Google Search Console
- Use the URL Inspection tool to request indexing for key pages after fixing issues
Best Practices to Avoid Indexing Issues
- Always check settings after launching a site – Make sure indexing is enabled, pages are public, and no accidental blocks are left from development.
- Avoid blocking during migrations – Temporary restrictions can carry over, so double-check robots.txt, noindex tags, and visibility settings after moving your site.
- Run regular audits using SEO tools – Use tools like Google Search Console to spot indexing issues early and fix them before they grow.
- Keep plugins and themes updated – Updates prevent bugs and conflicts that can break crawling, hide content, or apply incorrect indexing rules.
Final Thoughts
Indexing issues are common, and most of them come down to small settings that are easy to fix once you know where to look.
Take a few minutes to check your setup regularly. It can save you from losing traffic without realizing it.
When your site is correctly configured, Google can crawl, understand, and index your content properly, giving your pages the best chance to show up and grow over time.
Learn how to fix other technical indexing problems with this guide to fixing Google technical indexing issues.
FAQs
Common causes include “Discourage search engines” being enabled, noindex tags, blocked robots.txt, private pages, or missing sitemap submission.
You can’t force it, but you can speed it up by submitting your URL and sitemap in Google Search Console and using the “Request Indexing” feature.
It can take anywhere from a few hours to a few weeks, depending on your site’s quality, structure, and crawl access.
Yes, by default, it allows indexing, but certain settings, plugins, or manual changes can accidentally block it.
Check and fix visibility settings, remove noindex tags, update robots.txt, submit your sitemap, and request indexing in Search Console.

I’m Alex Crawley, an SEO specialist with 7+ years of hands-on experience helping new websites get indexed on Google. I focus on simplifying technical indexing issues and turning confusing problems into clear, actionable fixes.